Dental Water Sampling Best Practices
Maintaining safe and compliant dental unit waterlines (DUWLs) is not just a regulatory requirement—it’s a cornerstone of patient safety and practice integrity. As mail-in water testing becomes a preferred method for monitoring microbial contamination, understanding best sampling practices is essential for accurate results and actionable insights.
At Agenics Labs, we specialize in supporting dental professionals with reliable mail-in testing solutions. This guide outlines the most effective sampling practices to ensure your results meet CDC and ADA standards and help you maintain water quality below the recommended threshold of ≤500 CFU/mL EPA.
Jump to:
Why Waterline Testing Matters
Verifies compliance with CDC, ADA, and State Dental Board guidelines
Identifies contamination risk early
Protects patients and staff from waterborne and aerosolized pathogens
Establishes trust and maintains reputation
Prevents multiplication of opportunistic microbes
Mitigates infection risk and liability for the practice
Contributes to equipment longevity and performance
Choosing the Right Sampling Method
When monitoring dental unit water quality, selecting the correct sampling approach is essential for sustainable protocols and compliance. Two common methods are individual sampling, where each waterline is tested separately, and pooled sampling, which combines multiple lines into a single sample. While pooled sampling can save time and resources, individual sampling can provide more accurate results and actionable insights. It’s important to always follow local and state regulations, as requirements for waterline sampling may vary.
For the most up-to-date waterline guidelines in your state, visit our State Regulation page.
Individual Sampling
Collecting a separate water sample from each waterline (e.g., each air/water syringe, handpiece, or ultrasonic scaler).
When to Use: Best used when troubleshooting specific units or when first starting a testing regimen.
Advantage: Pinpoints contamination sources and helps prevent one bad line from creating problems down the road for the other connected lines.
Limitations: More expensive. If only some of the lines fail, it is still best practice to shock all lines.
Pooled or Multi-Source Sampling
Combining water from multiple lines of one dental unit into a single sample for testing.
When to Use: For ongoing routine monitoring, particularly once consistent baseline passing results have been obtained.
Advantages: Cost-effective for routine monitoring and provides a general overview of waterline quality.
Limitations: Cannot identify which specific line is contaminated if results exceed thresholds. Potential failure to catch growing bacteria levels if the average of the lines is below 500 CFU/m while a single line may be above the threshold.
Georgia and Washington have expanded their laws around water testing and currently allow up to 10 waterlines to be pooled into one sample.
Agenics Labs recommends pooling no more than six lines per sample to maintain accuracy and reliability. Always check your state-specific guidelines before proceeding.
When to Sample and Test
Routine monitoring of waterlines is an essential component of the CDC Guidelines. These guidelines have been codified into law in most states and are a recognized Standard of Care in all states. The Guidelines do not specify testing frequency, although some state laws do. Knowing when and how often to sample your waterlines is broken down below into event-based testing instances and routine testing frequency recommendations.
Event Triggered
Installation of New Equipment: New equipment can arrive with a surprising amount of bacteria (even without water in the lines). It is advised to shock and test the waterlines before initiating use of new equipment.
Dental Unit Maintenance: Like baggage in an overhead bin, maintenance can cause things to shift around and could release elevated levels of bacteria and/or biofilm into the waterlines. Shock and test after any equipment maintenance.
Protocol Change: Whenever changes to the waterline management protocol occur, such as treatment product or source water, a water test should be conducted to ensure the new protocol is effective.
Failed Test Result: After a failure, shock the waterlines and resume continuous treatment immediately. Wait 3-5 days after shocking to sample for a retest to allow the environment in your waterlines to normalize.
After Extended Closures: Offices closed for longer than two consecutive weeks should test the waterlines before reopening. Stagnation is a large contributor to bacteria growth.
Boil Water Advisories: Always test after any such events to ensure water safety.
Routine Monitoring
Routine monitoring: ADS (formerly OSAP) recommends achieving passing water test results for two consecutive monthly cycles. After that, testing frequency may be reduced, but it should never be less than once every three months.
Step-by-Step Sampling Protocol
1. Prepare the Operatory
Identify the chair(s)/unit(s) to be tested—air/water syringe, ultrasonic scaler, etc.
For individual sampling obtain one sterile vial for each waterline
For pooled sampling obtain one sterile vial for each independent dental unit*
Ensure the operatory is clean and free of cross-contamination risks.
Stand alone ultrasonic scalers often have the most contaminated waterlines. It is recommended to test these units separately.
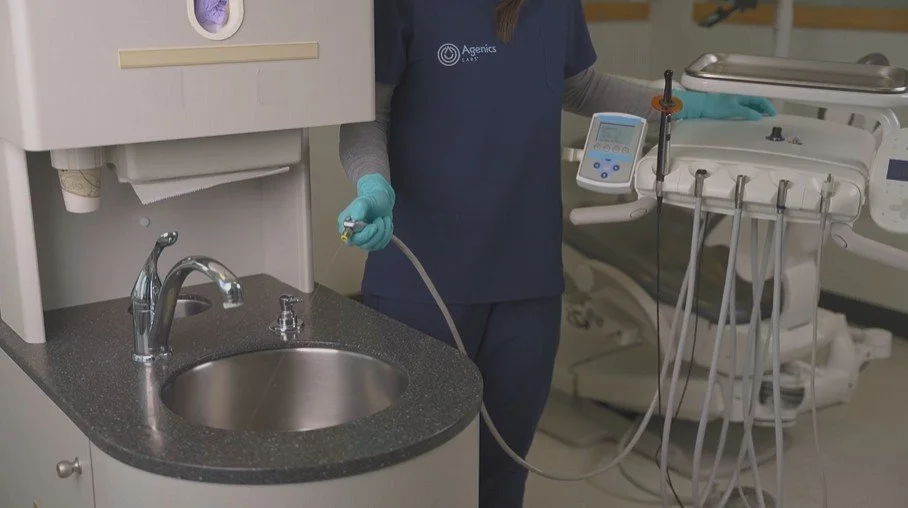
2. Flush the Lines
Flush every waterline for 20–30 seconds before sampling to remove stagnant water.
It is important to flush and sample every line, regardless of how often the line is used. The least used lines are the most frequent culprits of failures and their contamination can (and will) spread to the other connected waterlines on the unit.
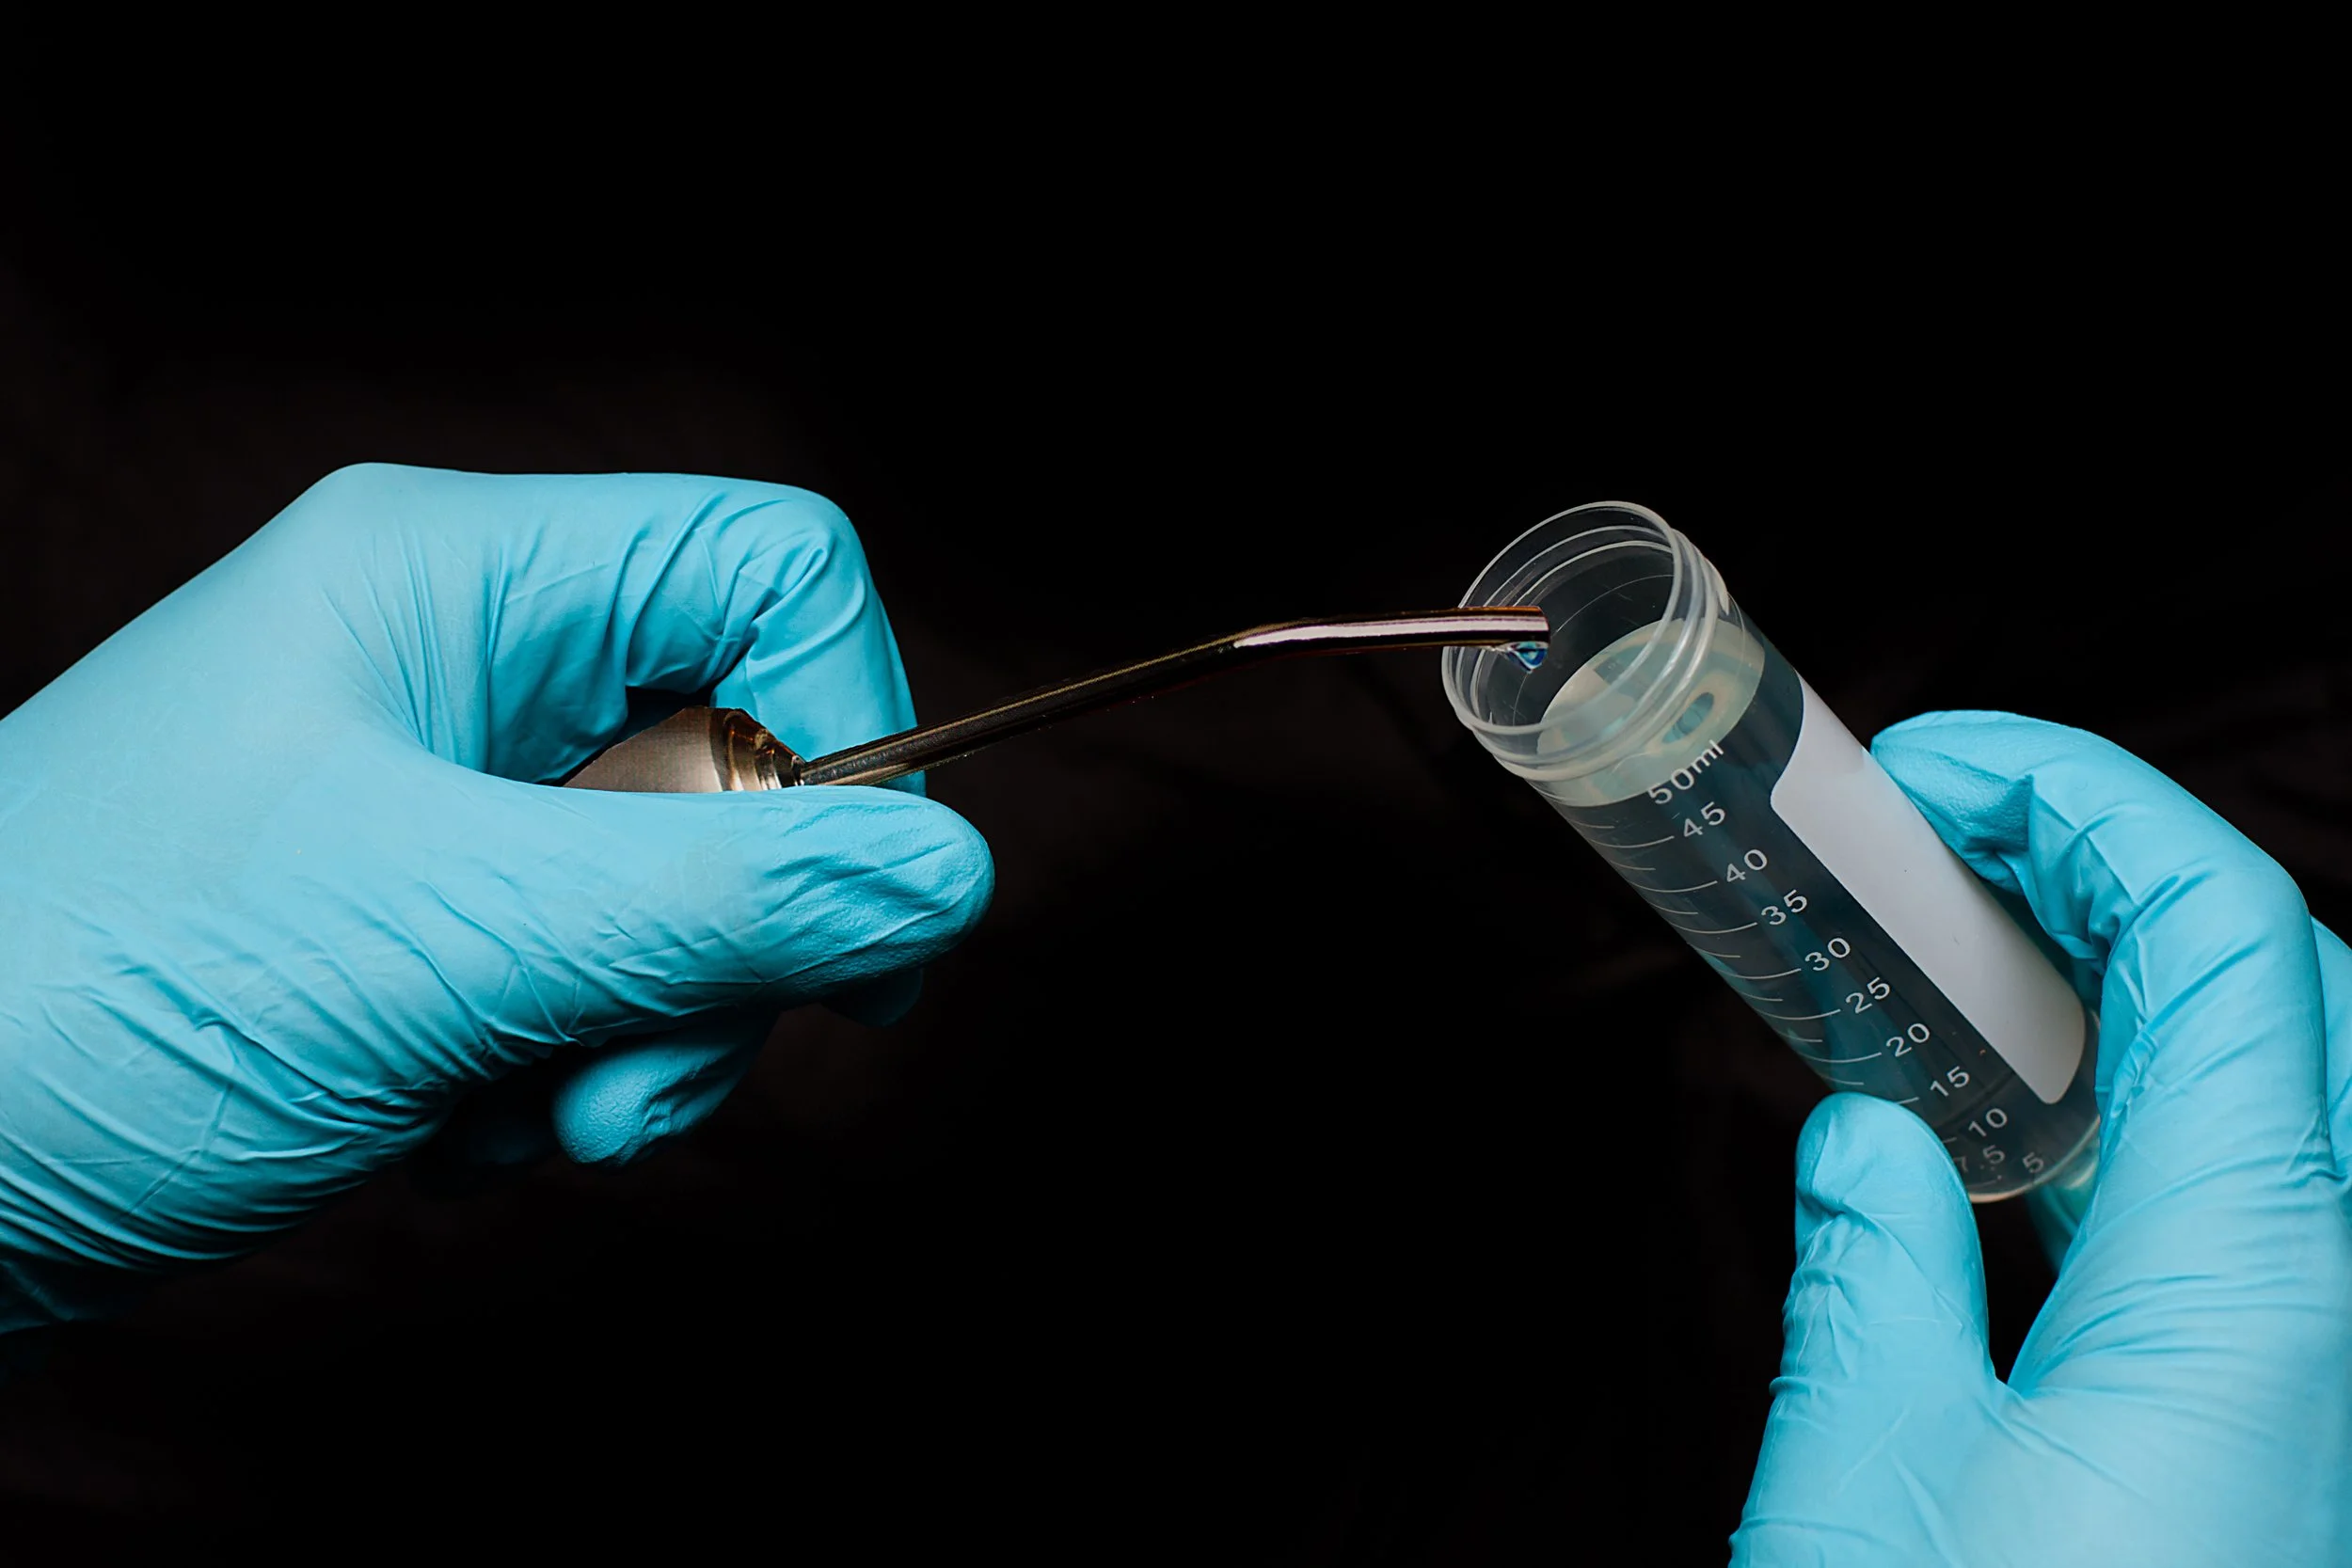
3. Sample Using Aseptic Technique
Don fresh gloves and apply hand sanitizer prior to handling the unopened vials.
Open the vial, keeping the lid suspended in your hand or place it with the inside facing up and collect your sample.
Be careful not to allow anything except the water to come in contact with the inside of the lid or vial.
Completely fill the vial to ensure there is enough water for the testing process to be completed.
Before starting the process again on the next chair, repeat the application of hand sanitizer to gloved hand.
Only use sterile containers provided by your testing lab (e.g., Agenics Labs) to avoid contamination.
5. Document Thoroughly
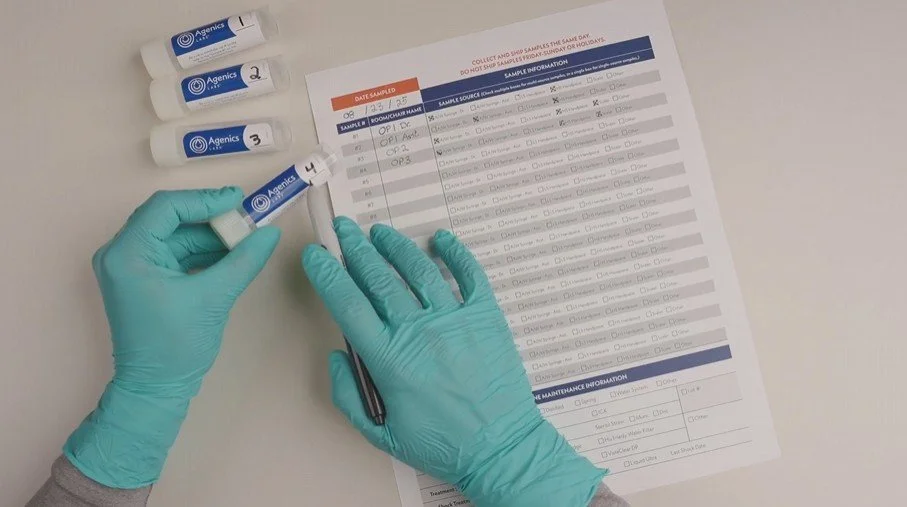
Match the vial number to the corresponding row on your submission form and complete the associated fields, ensuring the following information is included:
Operatory or chair number, name, or similar known identifier
Waterline(s) sampled (if using pooled samples, ensure all sampled lines are notated)
| Mistake | Impact | Prevention |
|---|---|---|
| Sampling immediately after shocking | False Passes | Wait 3–5 days post-treatment |
| Using non-sterile containers | Contamination | Use lab-provided sterile kits |
| Incomplete documentation | Delayed or invalid results | Use a checklist and double-check entries |
| Delayed shipping | Bacterial growth or die-off | Ship same day with priority service |
| Sampling without noting details | Misleading results | Clearly document sampling method and chair/unit details, including pooling info |
Obtaining and Using Your Results
Once your samples are received and processed, your results will be delivered via email and saved in the Agenics Customer Portal. Each mail-in test method produces results on a different timeline.
Please note that if you are new to testing with Agenics, an initial email will invite you to create a customer portal account. Keep an eye out for this email message. If you don’t see it within the expected timeframe, check your spam folder or contact Agenics support.
If you tested with Agenics, our Support Team will immediately reach out to your clinic if any failures are identified to help troubleshoot and provide remediation guidance. We have provided a few quick tips and resources below.
Remediation Protocols
Shock the waterlines according to your waterline management procedure(s).
Return to continuous maintenance treatment.
Retest within 3–5 days to confirm remediation success.
Document all actions taken and retain records for compliance audits.
For persistent failures that occur, a more aggressive shock may be necessary, and in some cases, lines need to be replaced. Reach out to Agenics for a deeper dive on next steps and possible chemistry analysis of the water. For helpful guidance on how to respond to a failed water test, learn how to Act, STAT or reference our Best Practices for Shocking article.
Quick Tips for Ongoing Compliance
Assign an infection control coordinator to oversee waterline protocols.
Maintain a policy and procedure manual for waterline maintenance.
Use checklists for daily, weekly, and monthly tasks.
Monitor local alerts for boil water advisories.
Train staff regularly on sampling and maintenance procedures.
Use mail-in tests for the highest level of accuracy to mitigate false passes and future failures.
Partnering with Agenics Labs
As a trusted partner in dental waterline testing, Agenics Labs offers:
Easy-to-use mail-in sampling kits
Fast turnaround times (as soon as 24hrs with Rapid Check)
Detailed, actionable reports (pictures included with StandardCheck)
Expert support for remediation and compliance
Mail-in testing is a powerful tool for dental practices committed to safety and compliance. By following best sampling practices, you ensure accurate results, protect your patients, and uphold the highest standards of care.
Need help? Click the button below to send us a message.
-
Centers for Disease Control and Prevention. (n.d.). Best practices for dental unit water quality. https://www.cdc.gov/dental-infection-control/hcp/dental-ipc-faqs/best-practices-dental-unit-water-quality.html
Dental unit waterlines. American Dental Association. (n.d.). https://www.ada.org/resources/ada-library/oral-health-topics/dental-unit-waterlines
Environmental Protection Agency. (n.d.). National Primary Drinking Water Regulations. EPA. https://www.epa.gov/ground-water-and-drinking-water/national-primary-drinking-water-regulations